How to add existing R to Jupyter Notebook
Step by step guide for R users
 Photo by Sean Oulashin on Unsplash
Welcome
I assume you have installed the Jupyter Notebook through the Anaconda.
You have also installed R and RStudio.
Follow the following steps to make your Jupyter Notebook to use your existing R keneral on Windows 10.
Step 1: install IRkernel package
You may install the package:IRkernel using RStudio or through the R Console directly through the command install.packages("IRkernel").
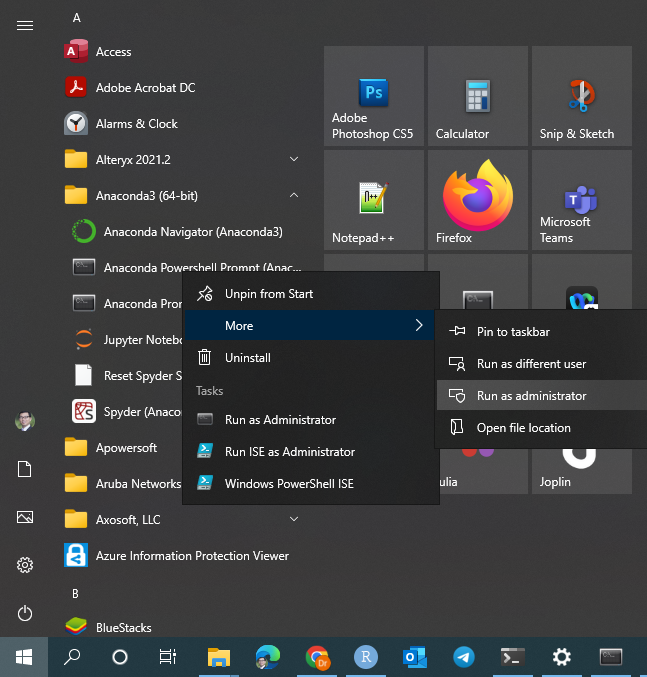
Step 2: open Anaconda Powershell Prompt as an administrator
Navigate to Anaconda Powershell Prompt and right click to launch it as administrator, as shown in the picture below.
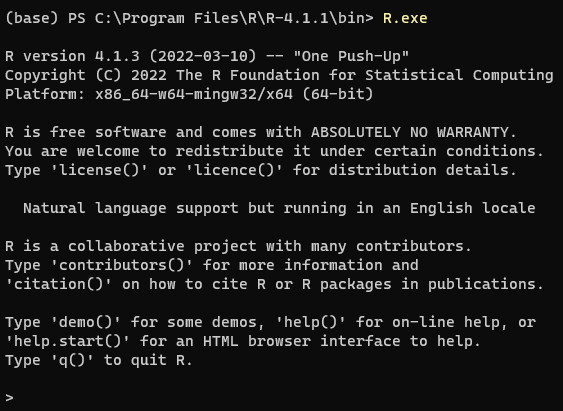
Step 3: Launch R.exe in the command line
In the Anaconda Powershell Prompt, change the directory to the folder which contains R.exe. Under Windows, it should be something similar to “C:\Program Files\R\R-4.1.1\bin”.
cd "C:\Program Files\R\R-4.1.1\bin"
Then run the code R.exe and the R system should be launched as shown below.
Step 4: link the R with Jupyter Notebook
Run IRkernel::installspec() in the R command line which should link your R with the Notebook directly.
One tricky part is the default R library path for Notebook may be different from the RStudio library path. If you manage your R library through RStudio, you have to make Notebook to use the same libary path as RStudio, otherwise you have to reinstall R packages under Notebook.
You may use .libPaths() to check the default library path under jupyter notebook and RStudio. If they are different, You may try the following two options:
- You may add
.libPaths("your R library path such as C:/Users/myusername/Documents/R/win-library/4.1")at the beginning of your notebook. - Add/Change your windows system environment variable “R_LIBS_USER” to the library folder.
Last updated on 17 April, 2022
Wang Jiwei
Associate Professor
My current research/teaching interests include digital transformation and data analytics in accounting.